Most people searching for smart lighting assume the switch has to go. A Shelly Mini lets you fit smart control behind a UK light switch without changing the plate on the wall. The Mini is a small relay that sits in the back box you already have. The switch you use every day stays where it is, and it still clicks. There is no hub and no rewire. This guide is a UK fitting note: what the Mini does, which one suits a lighting circuit, and what to check before anyone opens the box. Behind The Switch is an independent UK seller of Shelly products, not Shelly itself, and this is general guidance rather than electrical advice.
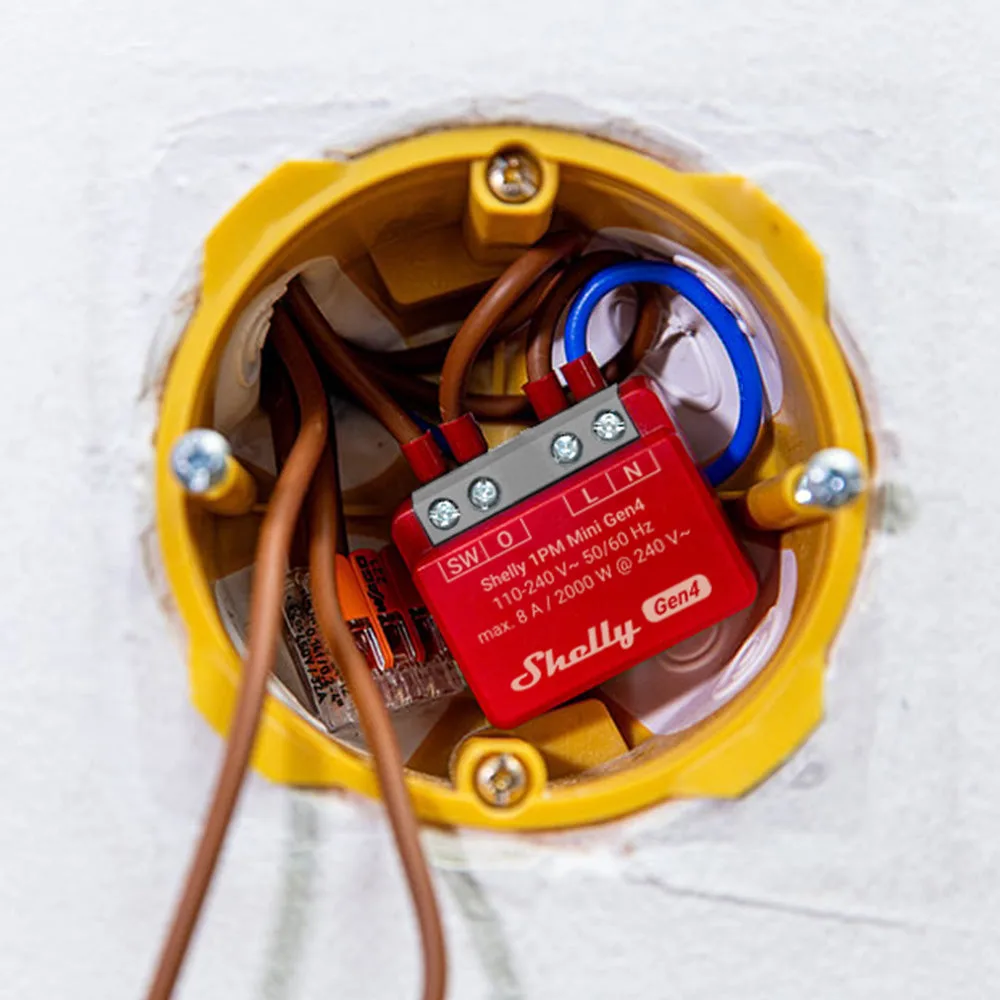
In the photo, the plate is off and the red Mini sits inside a round yellow back box. Its labelled terminals face outward, ready for the cables already in the wall.
What sits behind the plate
A light switch has two parts. The plate is the bit you see and touch. Behind it is the back box, a small recess in the wall where the cables meet the switch. Most people never look inside it.
A Shelly Mini is a relay small enough to sit in that box, behind the plate. It does not replace the switch. It works alongside it. When you press the switch, the Mini sees the change and turns the light on or off. The switch still clicks, and it still does what everyone in the house expects.
The difference is that the switch is no longer the only way to operate the light. The Shelly Smart Control app can turn it on from the sofa or from another town. A schedule can bring it on at dusk. A sensor can switch it when someone walks into the room. All of these reach the same light through the same Mini.
Compare that with a Wi-Fi wall plate. A smart plate replaces the switch you have with a new one, often with a touch panel, a status light, or a finish that does not match the rest of the house. You live with that choice on the wall every day. If you like the plates you have, or they match the rest of the house, that matters.
With a Mini, nothing changes on the wall. Guests use the switch as normal. If the Wi-Fi drops, the switch still works the light, because the Mini handles it locally. The smart part is out of sight, in the box, doing its job quietly.
Which Mini to choose
For a light on a single switch, the choice is short. Two Gen4 Minis cover most UK lighting jobs, and the main difference between them is whether you want to see power use.
Shelly 1PM Mini Gen4
This is the default for a one-way lighting circuit. The Shelly 1PM Mini Gen4 switches the light and reports how much power the load is drawing. That reading is useful if you want to spot a lamp left on in an empty room, or check what a set of downlights actually uses over a week. If you are not sure which Mini to pick, start here.
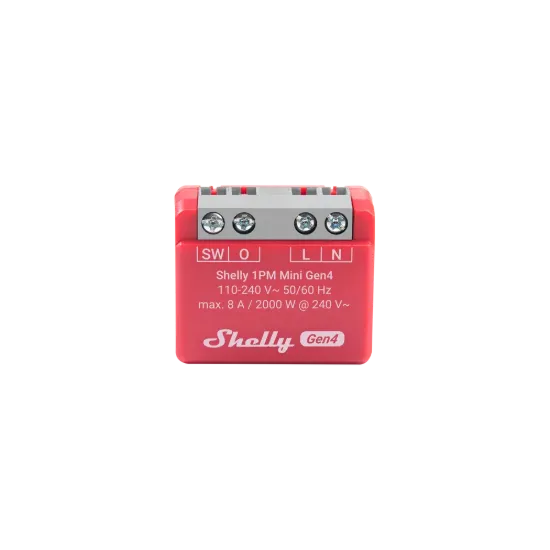
This is the same model as the back-box photo, shown on its own. It is built to sit behind the plate rather than in front of it. It measures 29 × 34 × 16 mm and switches up to 8 A.
Shelly 1 Mini Gen4
The Shelly 1 Mini Gen4 does the same job without energy monitoring. It sits in the back box, keeps the existing switch, and gives you app, schedule and sensor control of the light. If you only want the light to be smart, and have no interest in power figures, it is the simpler choice.
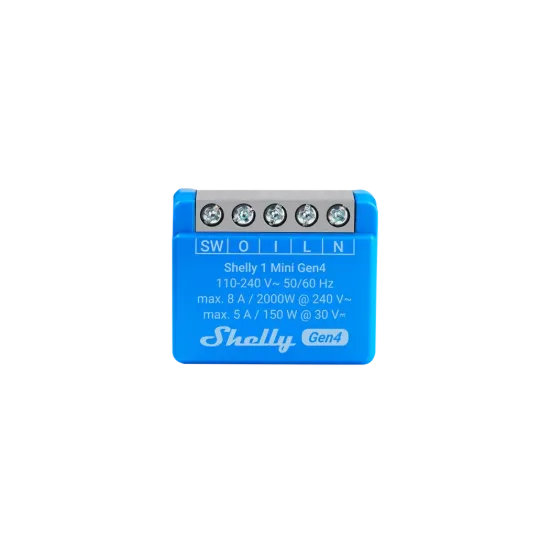
It uses the same 29 × 34 × 16 mm body and 8 A rating as the 1PM, without power metering, so check the model name on the product page before you order.
When it is not a Mini
Some jobs need a different device. If you want to dim the light, you need a dimmer, not a Mini relay: the Shelly Dimmer Gen3 is the one to look at. It is a trailing-edge dimmer rated up to 200 W, and it does not need a neutral. A switch that controls two separate loads is outside this guide. If you want smart control in the consumer unit rather than behind a switch, that is a Pro device, covered further down.
You may also see Gen3 versions, which are the older Mini body; to compare everything in the range, browse the Mini relays.
What you need in the back box
Before buying, it is worth knowing what the box has to hold. A Mini is small, but it still needs room alongside the existing cables and the back of the switch. UK back boxes vary. Older houses often have shallow boxes, and a box that is already full of cable may not have space for anything else. The only way to know is for someone to look.
That someone should be a competent person. Fitting mains equipment is for a person competent to work on UK lighting circuits, and the circuit must be isolated before the plate comes off. This guide is not a substitute for BS 7671 or a qualified electrician.
The next question is the neutral. Most Minis expect a neutral conductor in the box. Many newer UK lighting circuits bring one to the switch, but a lot of older ones do not. If your electrician finds no neutral at the switch, a standard Mini is not the right fit as it stands. Our Shelly 1L vs Mini guide covers the no-neutral options.
On a circuit with no neutral, the Shelly Bypass is fitted at the light and works with particular devices: on this site, the Shelly 1L Gen3 and the Shelly Dimmer Gen3. It does not make a Mini work without a neutral.
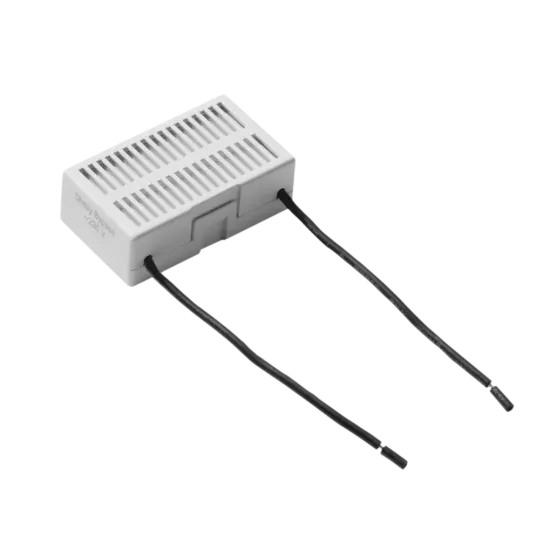
The Bypass is a small component, quite different from a relay. Its product page lists the devices it is meant to pair with.
Every Mini has a specification and a manual on its product page. They list the ratings, the supported loads and the connection details. Read them, or pass them to your electrician, before anything is bought or fitted.
How it is fitted
The fitting itself is short when the box is suitable. What follows is an outline, not instructions, so you know what to expect.
First, the circuit is isolated at the consumer unit and confirmed dead. The switch plate is unscrewed and eased forward so the cables can be seen. The electrician checks what is in the box: which conductors are there, whether a neutral is present, and whether there is room.
The Mini then goes into the box and is connected according to its manual. The plate you already have goes back on the wall, screwed into the same box. Nothing new appears on the wall, and the switch looks and feels the same as it did this morning.
With the power back on, the Mini is added in the Shelly Smart Control app. The app finds the device, you give it a name and a room, and the switch and the app now control the same light. It is worth testing both: press the switch, then use the app, and check they agree.
The point to hold on to is that the plate stays. You are not choosing a new switch design or matching a new finish. The plate you picked, or the one that came with the house, is the one you keep using.
For connection details, the manual on the Shelly 1PM Mini Gen4 product page is the reference. It is written for the exact device, and it is better to follow it than any summary here.
What you can do once it is in
Once the Mini is added, the light can be run from the Shelly Smart Control app. You can turn it on and off, see its current state, and group it with other devices in the same room.
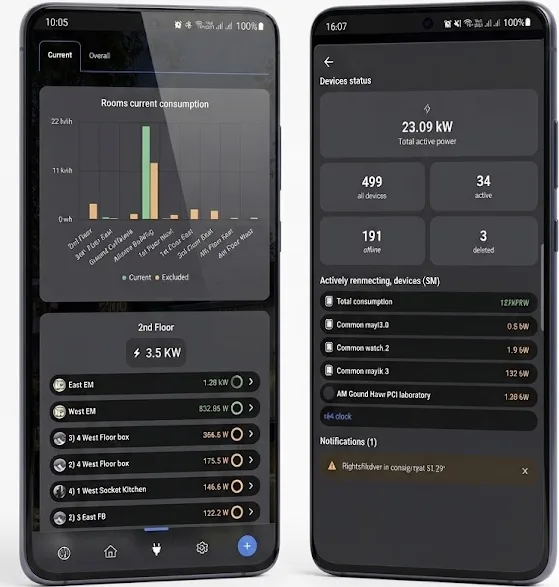
The screens show devices sorted by room, with each one's on or off state updating as it changes.
Schedules are the simplest win. A hallway light can come on at sunset and go off at midnight. A porch light can follow the seasons without anyone resetting a timer.
Control is not limited to being at home. The app can reach the light when you are away, which is useful if you want the house to look lived in. Inside the house, the Mini also works on your local network, and the switch keeps working whatever the connection is doing.
On PM models, such as the 1PM Mini Gen4, the app also shows power readings for the load. That helps you see what a room of lights draws and notice one left on.
A sensor can also turn the same light on. Instead of reaching for the switch, the light responds to movement. The Shelly BLU Motion is one option for a hallway or landing, and there are more in the sensors range. Its product page explains how it connects. The switch still works as normal alongside it.
If you use a voice assistant or another platform, check the product page for what each device supports before you rely on it. If you run Home Assistant, see our guide to Shelly and Home Assistant.
Mini, Pro, plug, or sensor
Shelly makes several ways to control a light. The right one depends on where the control needs to live, not on which device is newest.
- Behind the switch. A Mini relay in the back box. The plate stays, the switch still clicks, and the light gains app, schedule and sensor control. This is what this guide has covered.
- In the consumer unit. If you would rather keep control away from the wall entirely, a DIN-rail device such as the Shelly Pro 1 sits in the consumer unit. That is a job for an electrician and usually part of wider work.
- No wall box, just a socket. For a floor lamp or table lamp, a plug is simpler. The Shelly Plus Plug UK goes into a standard socket, with no fitting and no electrician.
- Detect occupancy rather than replace a switch. If what you really want is lights that respond to people, start with a sensor. It can work alongside a Mini, or with other devices you already have.
Many homes end up with a mix. A Mini in the hallway, a plug for the lamp in the living room, and a sensor on the landing is a common starting point. Each can be added one at a time.
If you are still weighing up the options, you can compare the Minis, Pros and other switching devices in all relays. Check each product page for the specification and manual before you decide.